My Kirby vacuum sucked up some string, and then sounded funny. So I thought I better unplug it and have a look see. It was easy enough to remove the vacuum head, and to snap open the beater bar protector, and removing the beater bar roller. The hard part was removing all the string and long hair that I found caught, wrapped around both ends of the roller. (See photos posted at the bottom of my blog...)
Once I stopped trying to pull out the hair and string with my fingers, and went and got the proper tools to do the work for me. It was just a matter of using my scissors to cut it all loose and then pulling it out, using my needlenose pliers. Didn't take too much time, just a little elbow grease!
Putting everything back together, after I got all the string and hair out of the roller, was a little bit different situation. For some reason, as always, it seems it's always easier to take something apart, or take it out of the package, but, when you go to put it back together, or back in the box, it never wants to cooperate!
So it was with the beater bar roller, it took me a little more time to have the end screws cooperate with me, in hooking the beater bar roller back into the vacuum head. After a little frustration on my part, I asked my husband for a little help, and he being the handyman that he is, of course, the roller went into place in a snap!
Now to put the Kirby vacuum head back onto the machine. Now, that's a little harder, you have to know what the little trick is! I figured it out, because I'm pretty good at that kind of thing, especially since I hang out with my handyman husband, and I'm always watching him take things apart and put them back together again, and if he needs an extra hand, I'm always right there to help out! Anyway, back to putting the vacuum head back on the machine...
Have you had this problem too?
Soooo, you want to know what the trick is to putting the Kirby vaccum head back on the machine?
You have to make sure you push hard, so the little black button will catch, as you also make sure you have the head lined up, in the groove, that's on the other side of the notch, and little black button on the machine.
Sorry to say, I tried, and tried, but, until I called in my husband for help, I was going nowhere! I was doing the right thing, as I tried to put it back together, and I even figured out that I needed to push in the little black button, but, I couldn't quite do it myself. So you too, may need a second person to help you put it back together again. So I hope this helps you, if you've taken your machine apart to clean it, and it "won't fit back together" again!
Don't forget to look at my photos below...
Till next time, see ya! ....
Wednesday, June 11, 2008
Cleaning My Kirby Vacuum Beater Bar Roller, So I Can Remove The String & Hair
Wednesday, June 4, 2008
Dumping My Kirby Vacuum Bag
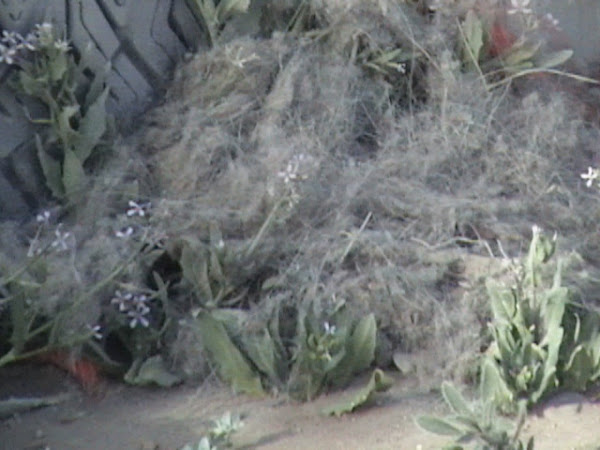
Okay, so it's a little messy when I dump the bag. But, really, I still can't believe my eyes, when I see what my red plaid Kirby vacuum has sucked out of my carpet!
Again, yesterday, when I dumped my bag, I was astounded at all the dirt and especially the dog hair that it sucked out of the carpet, and off the floors.
I couldn't see any dog hair on the floor or carpet, so, where did it all that dog hair come from?
Sure, I have two dogs, which have, and I guess still are shedding their winter coats! I thought my dogs were done shedding! Because when I brush them, I'm barely getting any hair out of them. Humm...
But my Red Plaid Kirby vacuum doesn't lie! When I dump the bag, there it all is! Whew! Lots, and lots of dog hair! Besides the dirt my dogs haul into the house and shake all over the place.
Sure, dumping the bag can be a little "messy", but it's well worth it, this vacuum is 53 years old and is still a powerful sucking dirt and dog hair cleaning machine!!
See for yourself, see my photos below, each time I dump my bag, this is what I see...
See ya later, til next time...


